

Through this piece I’m going to guide you down my tried and tested process for crafting an elder whistle, so stick with me and we’ll learn how to make an elder whistle together 🙂

Elder, rich in history and folklore and long favoured by foragers for its beautifully scented flowers and deliciously tart berries. Known as the “medicinal chest” by herbalists; long used for its claimed healing properties for issues such as bronchitis, fighting cold and flu, as well as an anti-inflammatory, even regulation of body temperature.
With a complex and interesting history believed by some to be a symbol of good luck and prosperity, and by others, a symbol of sorrow and death. One common theme however is to always ask the tree for permission before breaking a single branch, for fear of offending the gods, receiving a witch’s curse or just horrid luck.
So be warned!
Elder Trees
Click here to see our Elder Identification Guide
This is not a tree renowned for its strength; it is often quite fragile, it’s so soft fact you can even make an impression on the cork-like bark with your finger nail. Despite all of this, all throughout history, its plethora of usage would surprise you.
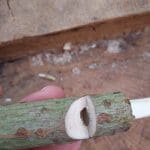
Whether for natural dyes; using the berries for blue and purple, the leaves for yellow and brown, even the bark for gray and black. These quality dyes have even been used by clothing designer Harris Tweed. Elder is a soft wood, unlike harder woods it has no obvious heart, instead it has a hollow soft pith; a centre not too dissimilar to Styrofoam, making it easy to remove.
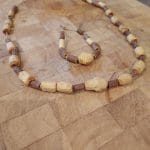
From the Anglo-Saxon word ‘Aeld’ meaning fire, referring to its usage by blacksmiths as bellows; supplying a fire with a steady stream of air. It was also used by native peoples for blow dart weaponry. Most commonly used however as a favoured material by crafters for its unique bead jewellery, needle shrink pots, puppets, spud guns and even musical instruments! From recorders and flutes to whistles.
The following will show you how to make a humble elder whistle, a great project for all different ages; from forest schools to hobbyists and bushcrafters alike. In fact the Latin Sambucus refers to a Grecko-Roman instrument the Sambuca or sackbut.
What You will need to make an Elder Whistle;
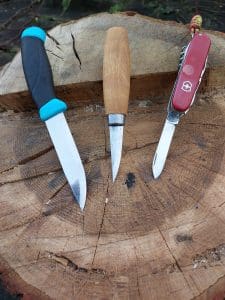
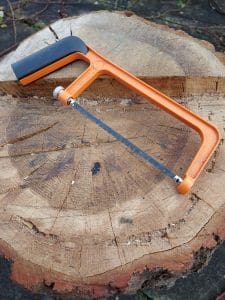
- A sharp knife (a simple folding knife will do) A sharp knife is a safe knife.
- A screwdriver (you can even use a sharpened stick or even a tent peg)
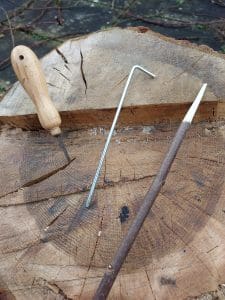
- A saw
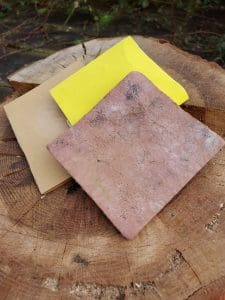
- Sand paper (if desired)
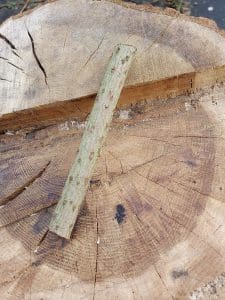
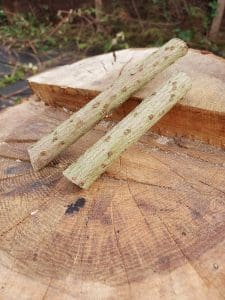
- Elder stick
- Any safe cooking oil
- A straight stick (anything laying in the woodland floor will do)
- PATIENCE!
*Always take special care when using any form of edged tool to prevent serious injury always be mindful of yourself and others, always cut with the blade facing away from yourself *
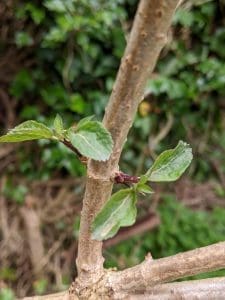
Finding a Tree to Make an Elder Whistle
Ideally keep your eyes peeled to a slightly more mature tree, preferably with different stages of branch growth, from young and spotty to aged and mossy.
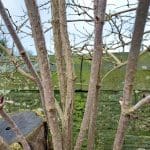
*Always be sure to ask for permission before coppicing any raw material on land you do not own*
You don’t need much, just a branch will do. Look for slightly wider branches with a little more age to them, this means the wood has had a chance to grow around the pith, if it’s too young, it will be spongy throughout making it too fragile. Not to worry however, if you take a branch too young it will still make some lovely beads or a little wood puppet, too large it makes for a great shrink pot
How to Make an Elder whistle
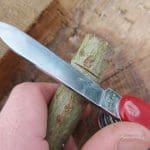
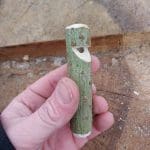
- Cut to desired length (remember the bigger it is the easier it will be to work with)
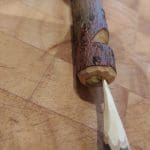
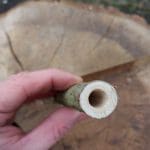
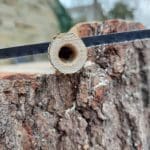
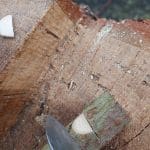
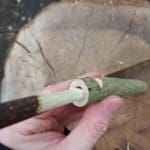
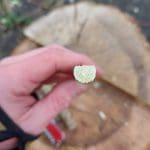
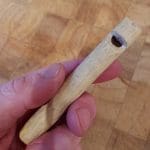
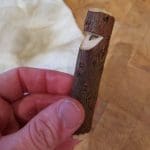
- Hollow out the pith about an inch in length; remove as much a possible for the best results (This end will be the mouthpiece)
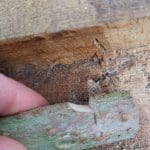
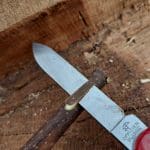
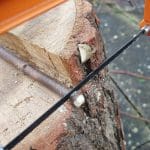
- Saw a straight line about half way down the the hollow chamber created, going deep enough so you can just see the edge coming through the centre
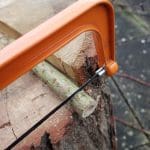
- Using your sharp knife make a series of small gentle cuts towards your saw mark. You are aiming to get roughly a 45 Degree angle, until you can see a small opening peering into the hollow chamber
This is where the patience comes in;
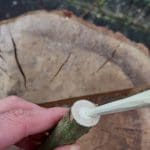
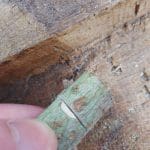
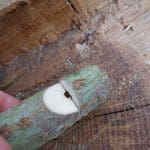
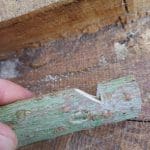
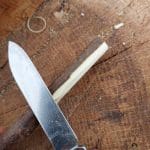
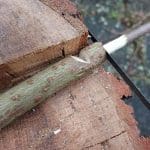
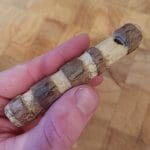
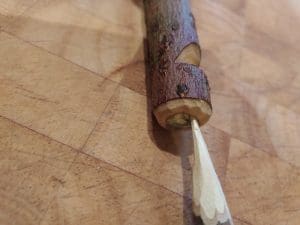
- Using your straight stick, gently peel off the bark and whittle your stick to the same size as the hole in the mouthpiece (Top tip- Find a stick that is not too much thicker than the size of the pith) making a slightly flat surface on one side.
This will allow the air to pass over to make the noise; however be warned!
Not enough off = no air though, no noise
Too much off = no noise
You want it to be snug but not forced, keep testing it regularly by blowing into the hole to see if it works! When you have the desired noise, once achieved simply saw off the excess.

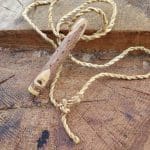
Personalise your Elder Whistle!
At this stage you have a working whistle you just need to make it your own! You can carve any decorations or patterns, paint it, wood burn it, wrap it, add a lanyard. Whatever you like!
Be sure to apply a generous amount of safe cooking oil, allow it to sit and simply wipe off any excess, this will help to preserve the wood and that’s it!

Something to bear in mind…
Green wood (Freshly cut) contains water and will shrink when dry, this can affect the whistles ability to work effectively, you can dry the branches out over the space of a couple of weeks at home, or simply plug the gap to prevent it from sealing up the whole.
There you have it! Our Complete Elder Whistle.
This is a fantastic activity to do for fun, it’s a great way to introduce tools to younger people and a great way to connect with nature and experience the outdoors. The more you practice the more confident you will become with this material as well as the tools you are working with, the more room there is for development: you can work your way up to making a recorder or a slide whistle.
Happy Crafting!
Forager Kris